A very wise man once said "if you want to take more interesting pictures go to more interesting places". Now as a young photographer I remember running around trying to make somthing out of nothing when it came to locations, and some times it worked. But as I have gotten older I now realize that location and timing are everything in photography.
Now that's not to say that sometimes the stars don't align and you get that unbelievable shot that no one could plan for. It is more realistic that you put in the time on scouting and light mapping and timing everything out to give you the best possible chance of getting the shot you are working toward.
Some important thing to consider when looking at a location for outdoor photography.

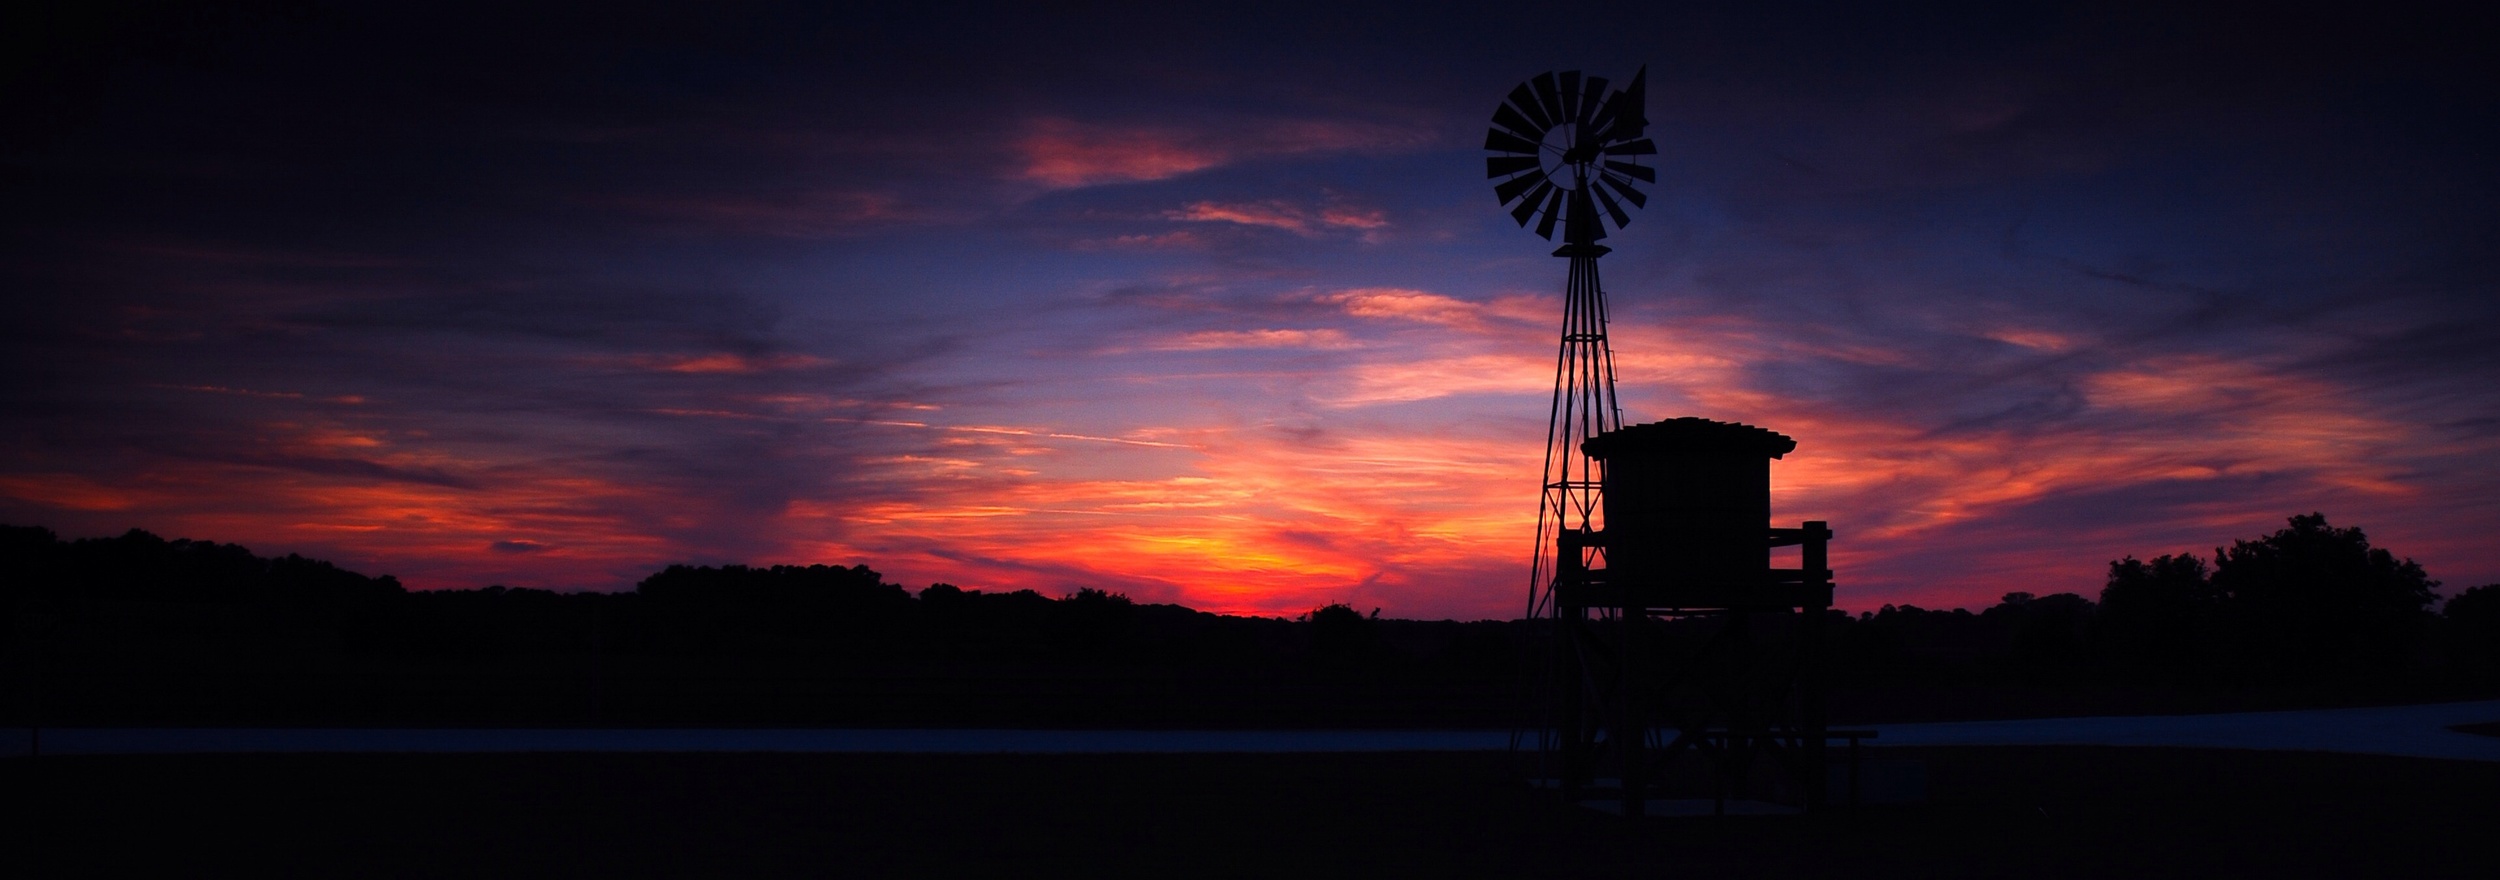
When I find a location I like, I always look at the angle I need to be in for the shot. In the compass app I take a screen cap with my phone (above) so I have the information at hand when I am planing my shoot. From this screen cap I can tell I am shooting west into a setting sun. This is good info to help plan.
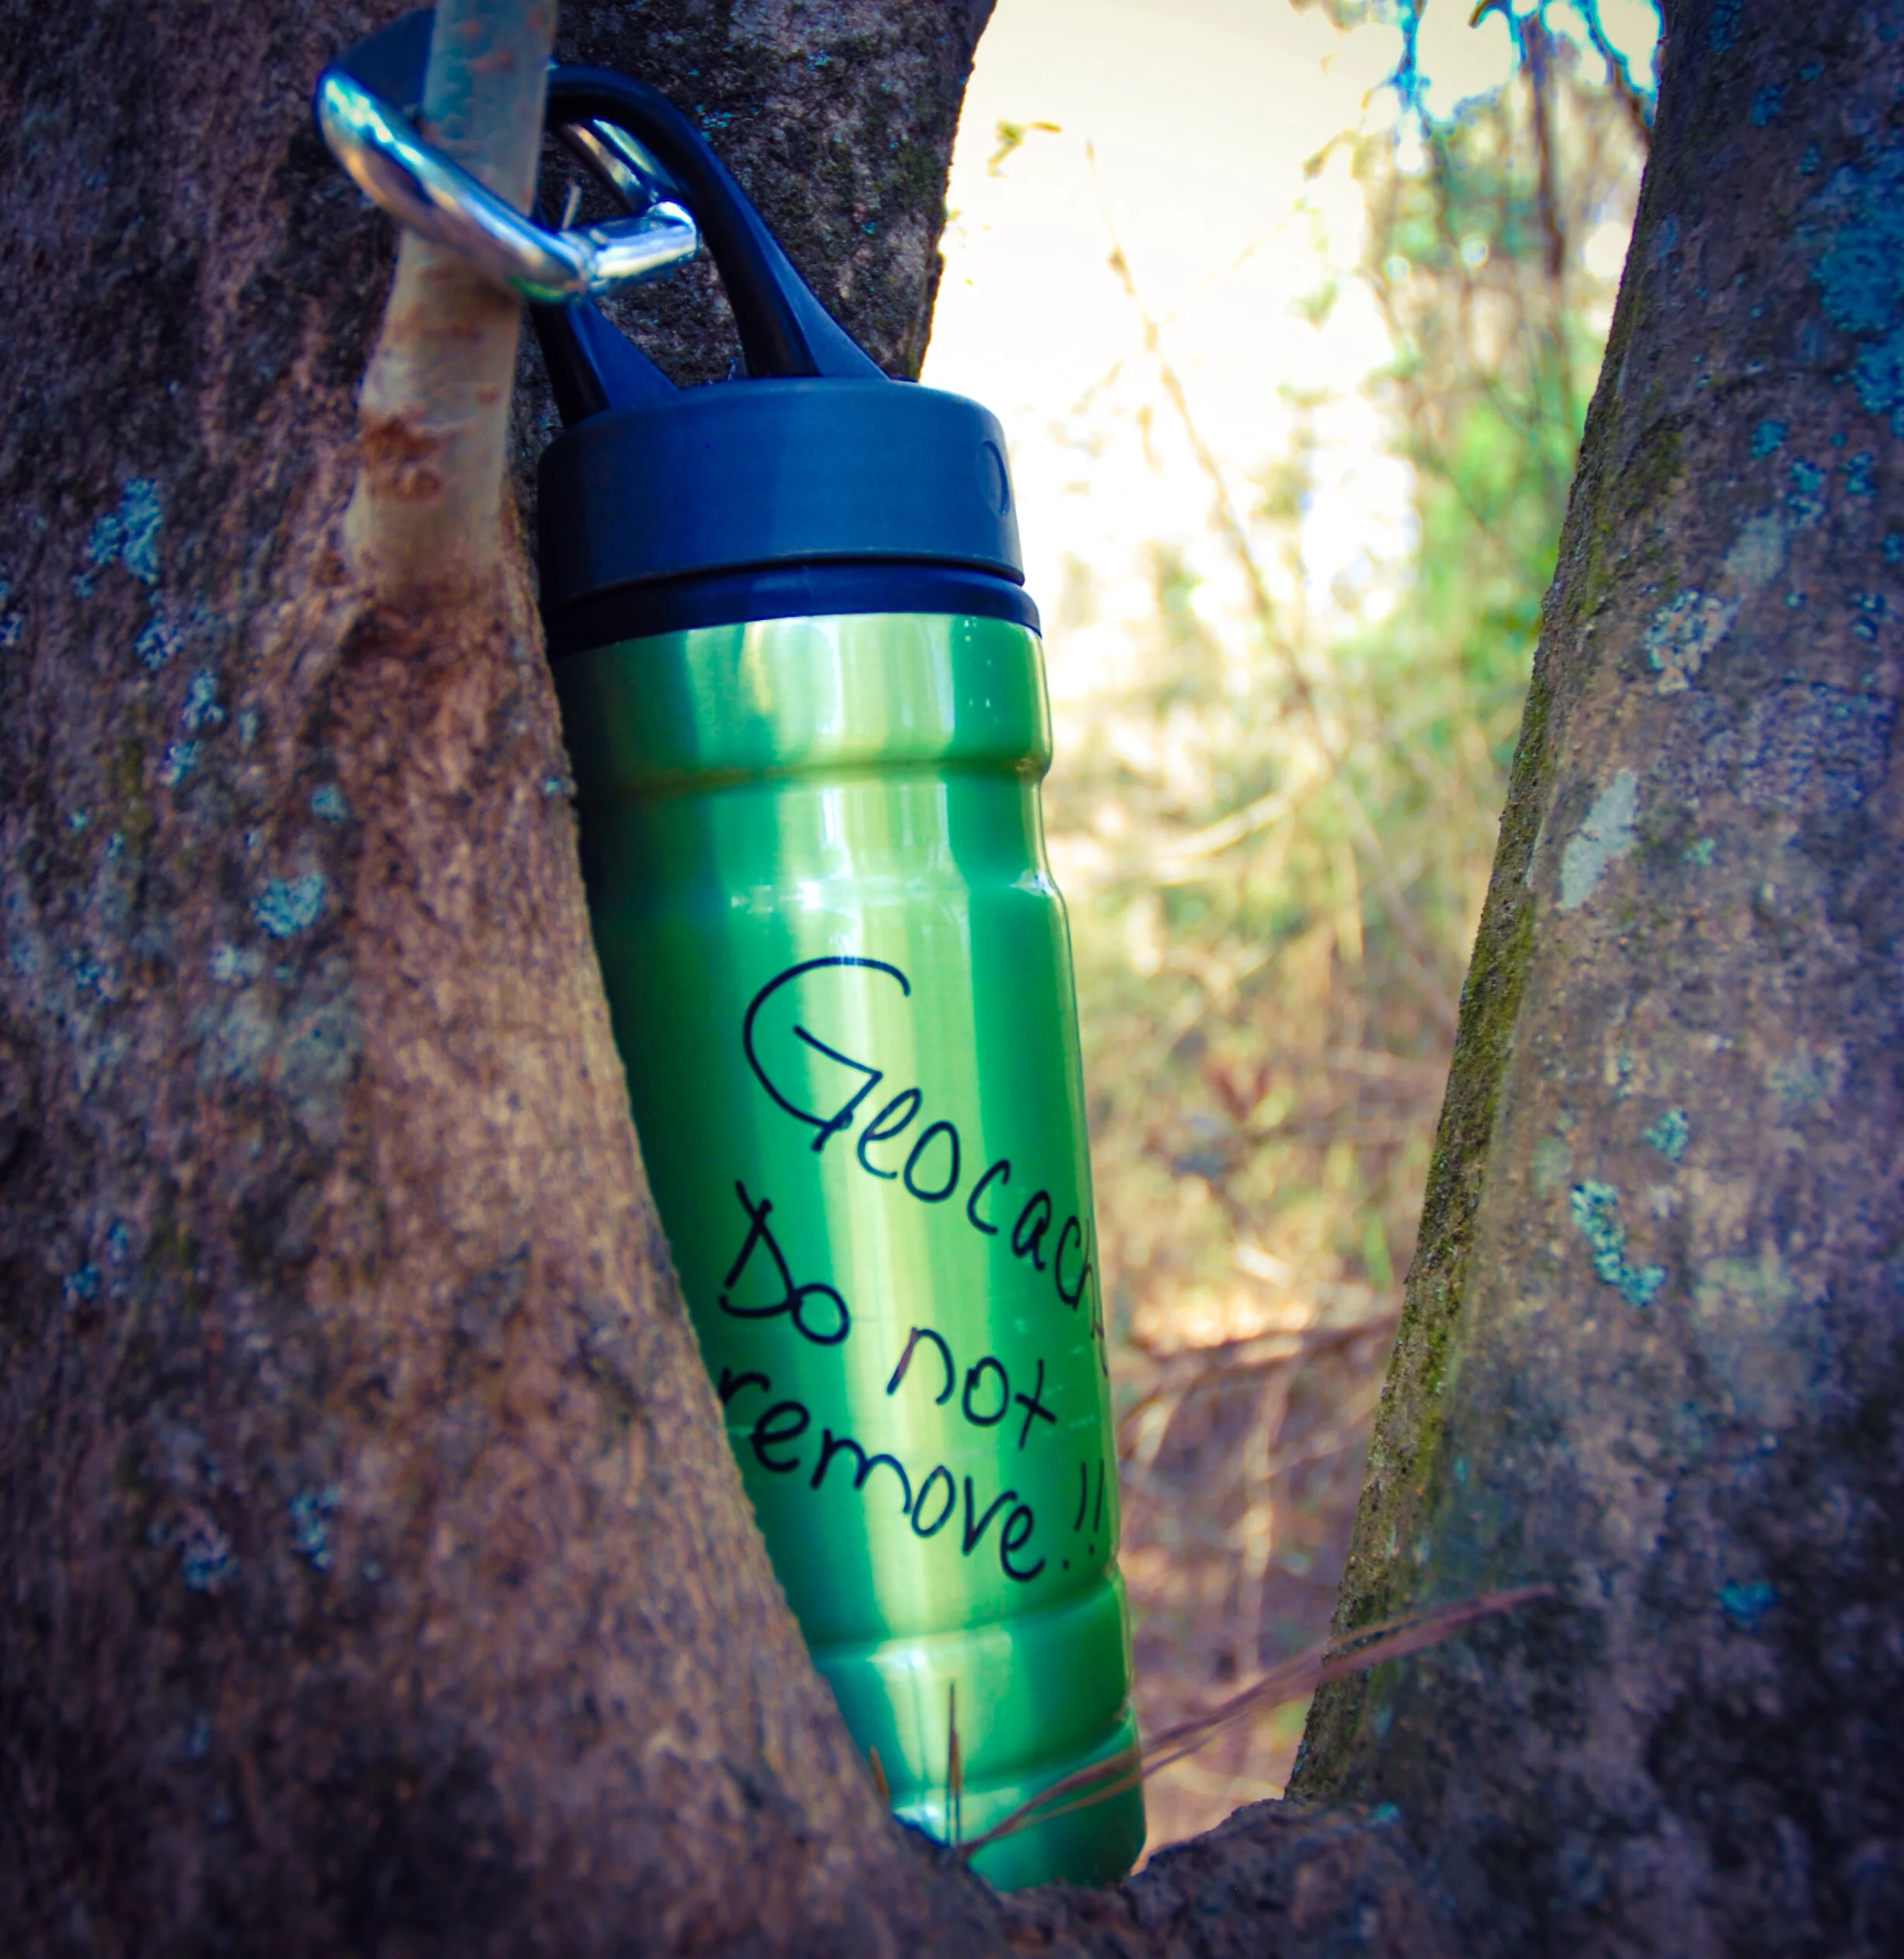
1. Location, ( literally GPS or address) I always grab a quick GPS location on my iPhone. I do this so it is easy to go back to this place in the future or if I am working with others I can send them the location in google maps so they can easily find it. I also meet a lot of other nature photographers out on trails and it's nice to be able to help them find new exciting locations.
2. Light, look around for issues regarding light. Will a setting sun be to bright to shot in the direction you will be set up? You might need to try sun rise. Are you in thick tree canopy and need the sun to be overhead to give you the best chance for proper exposure? Again a smartphone compass is a great tool that almost everyone has on them at all times.
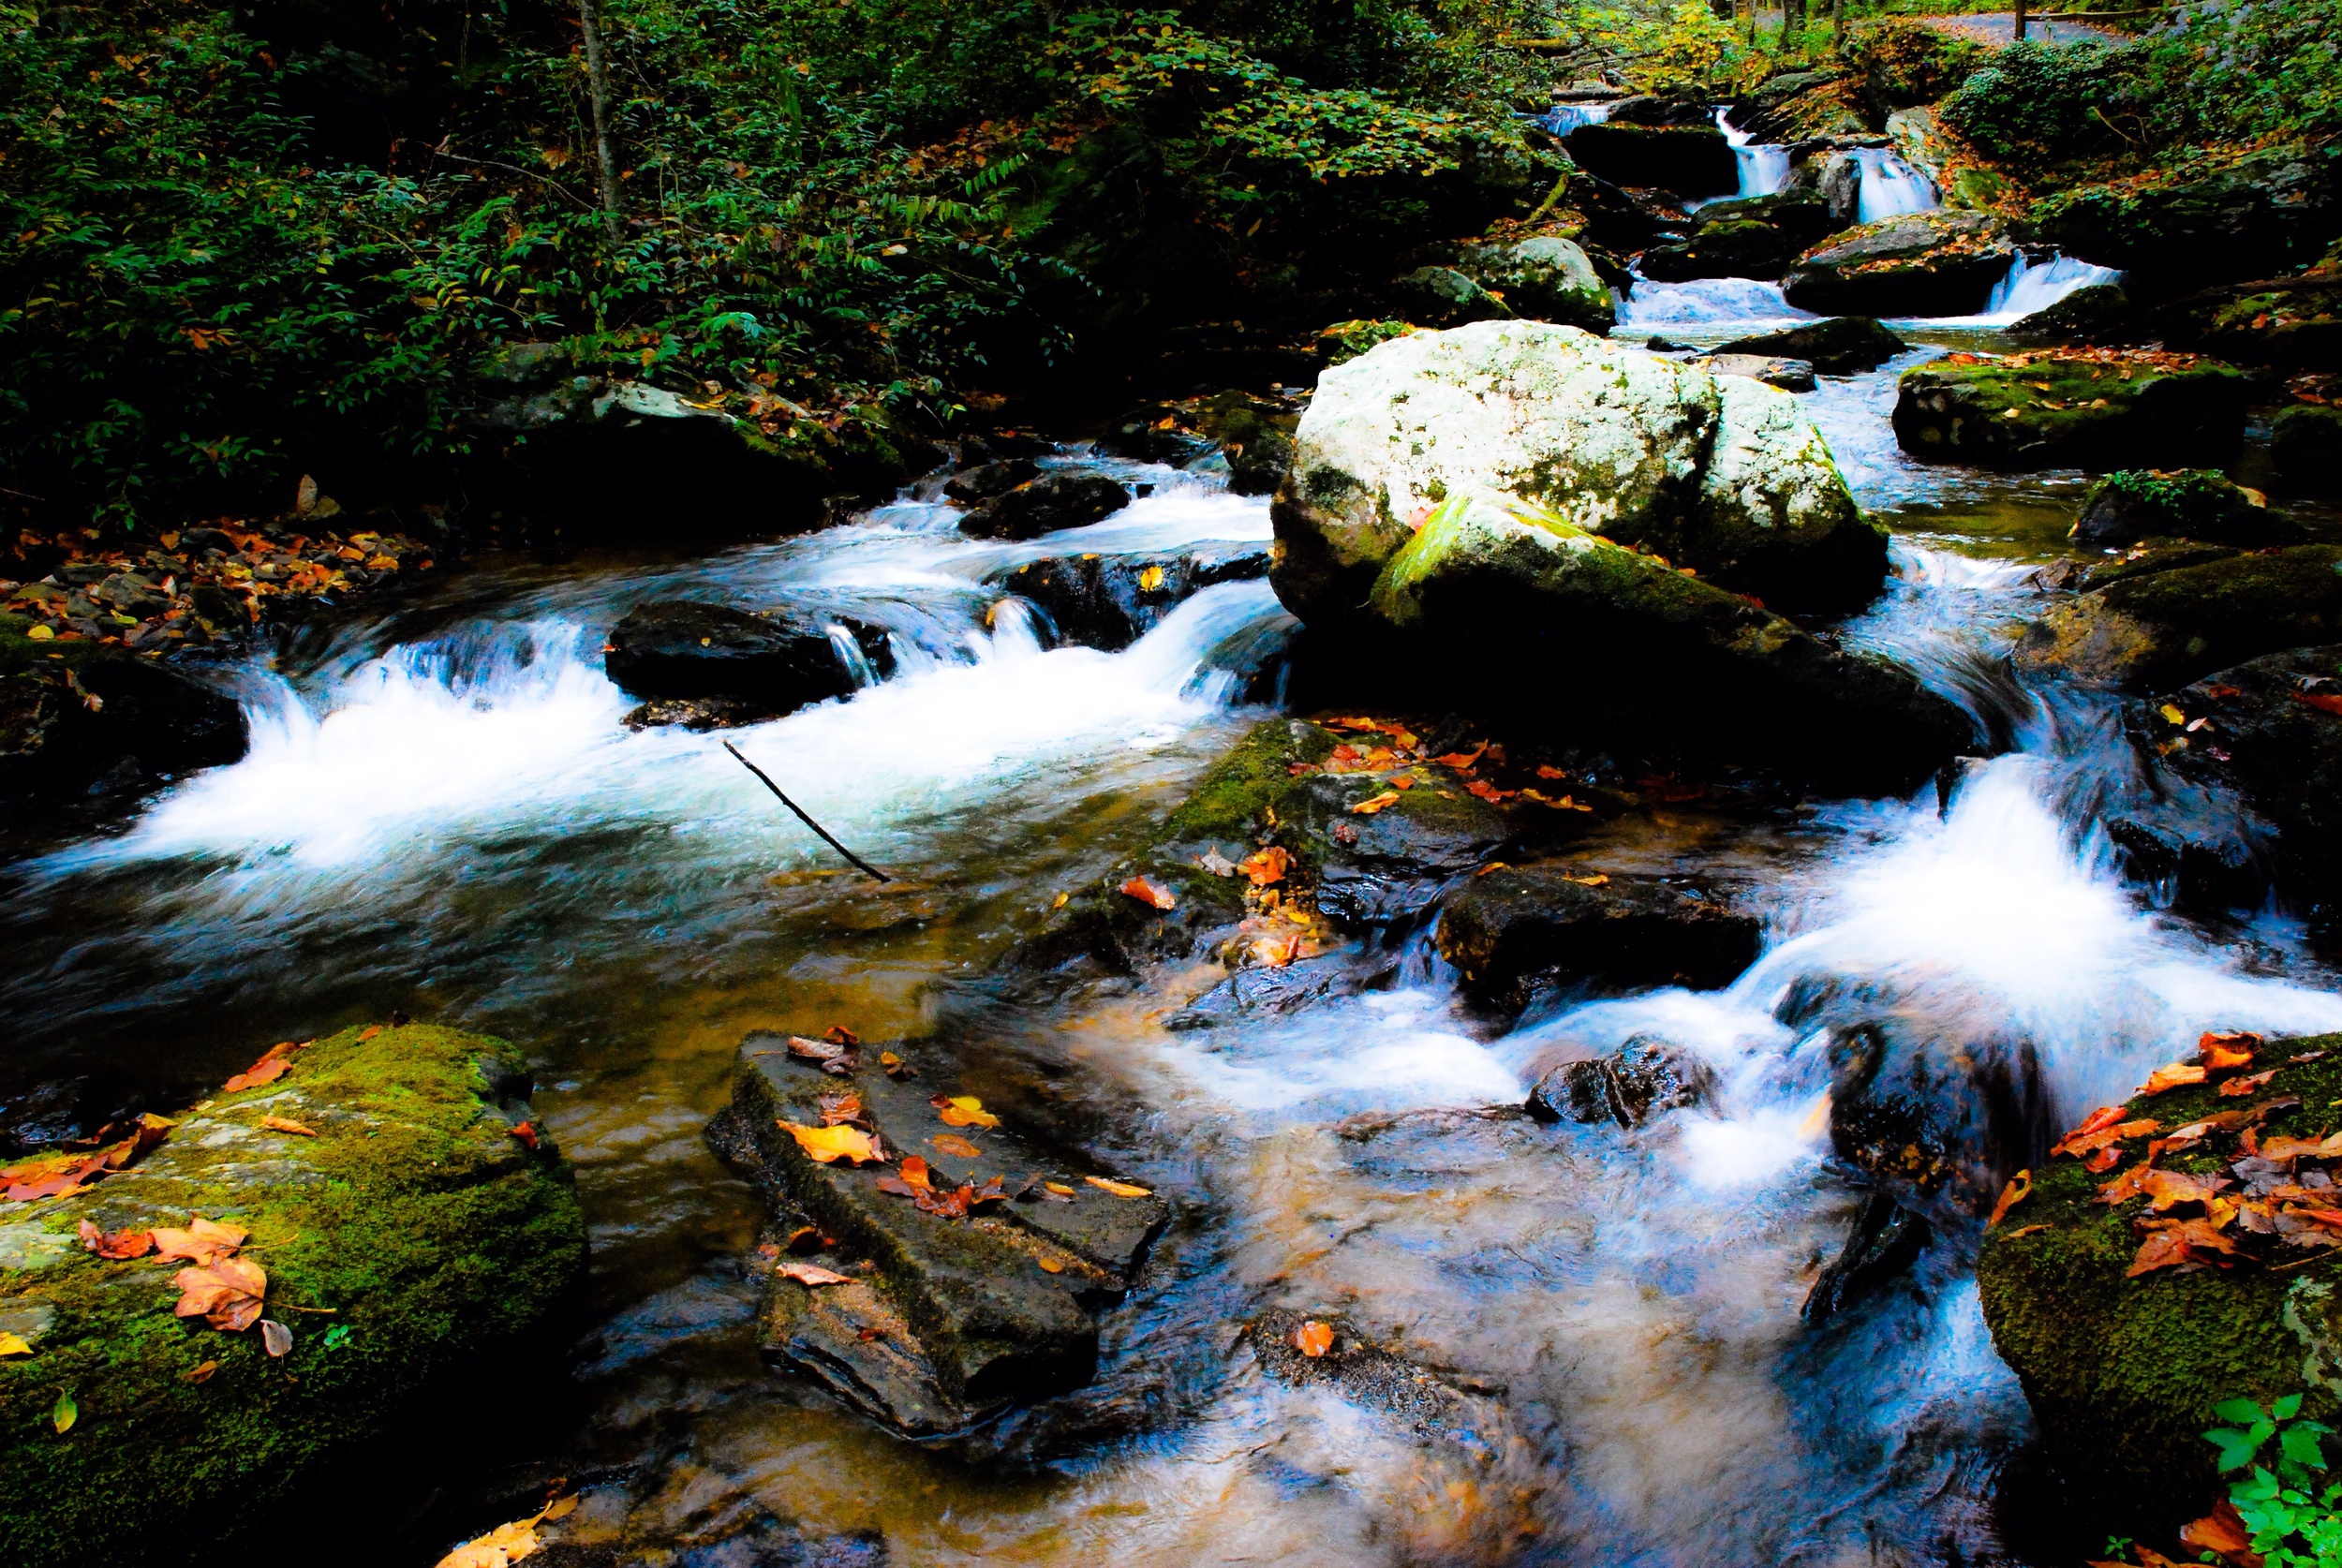
3. Climate, here in FL we deal with bad rain storms almost daily. I know that between 2pm and 5pm during the summer I need to make sure I have a plan in place to deal with storms. Or that in the winter months our high water table causes thick fog in the early morning hours. Researching things like this will also help in determining the direction you want to take in telling the story with your shot.
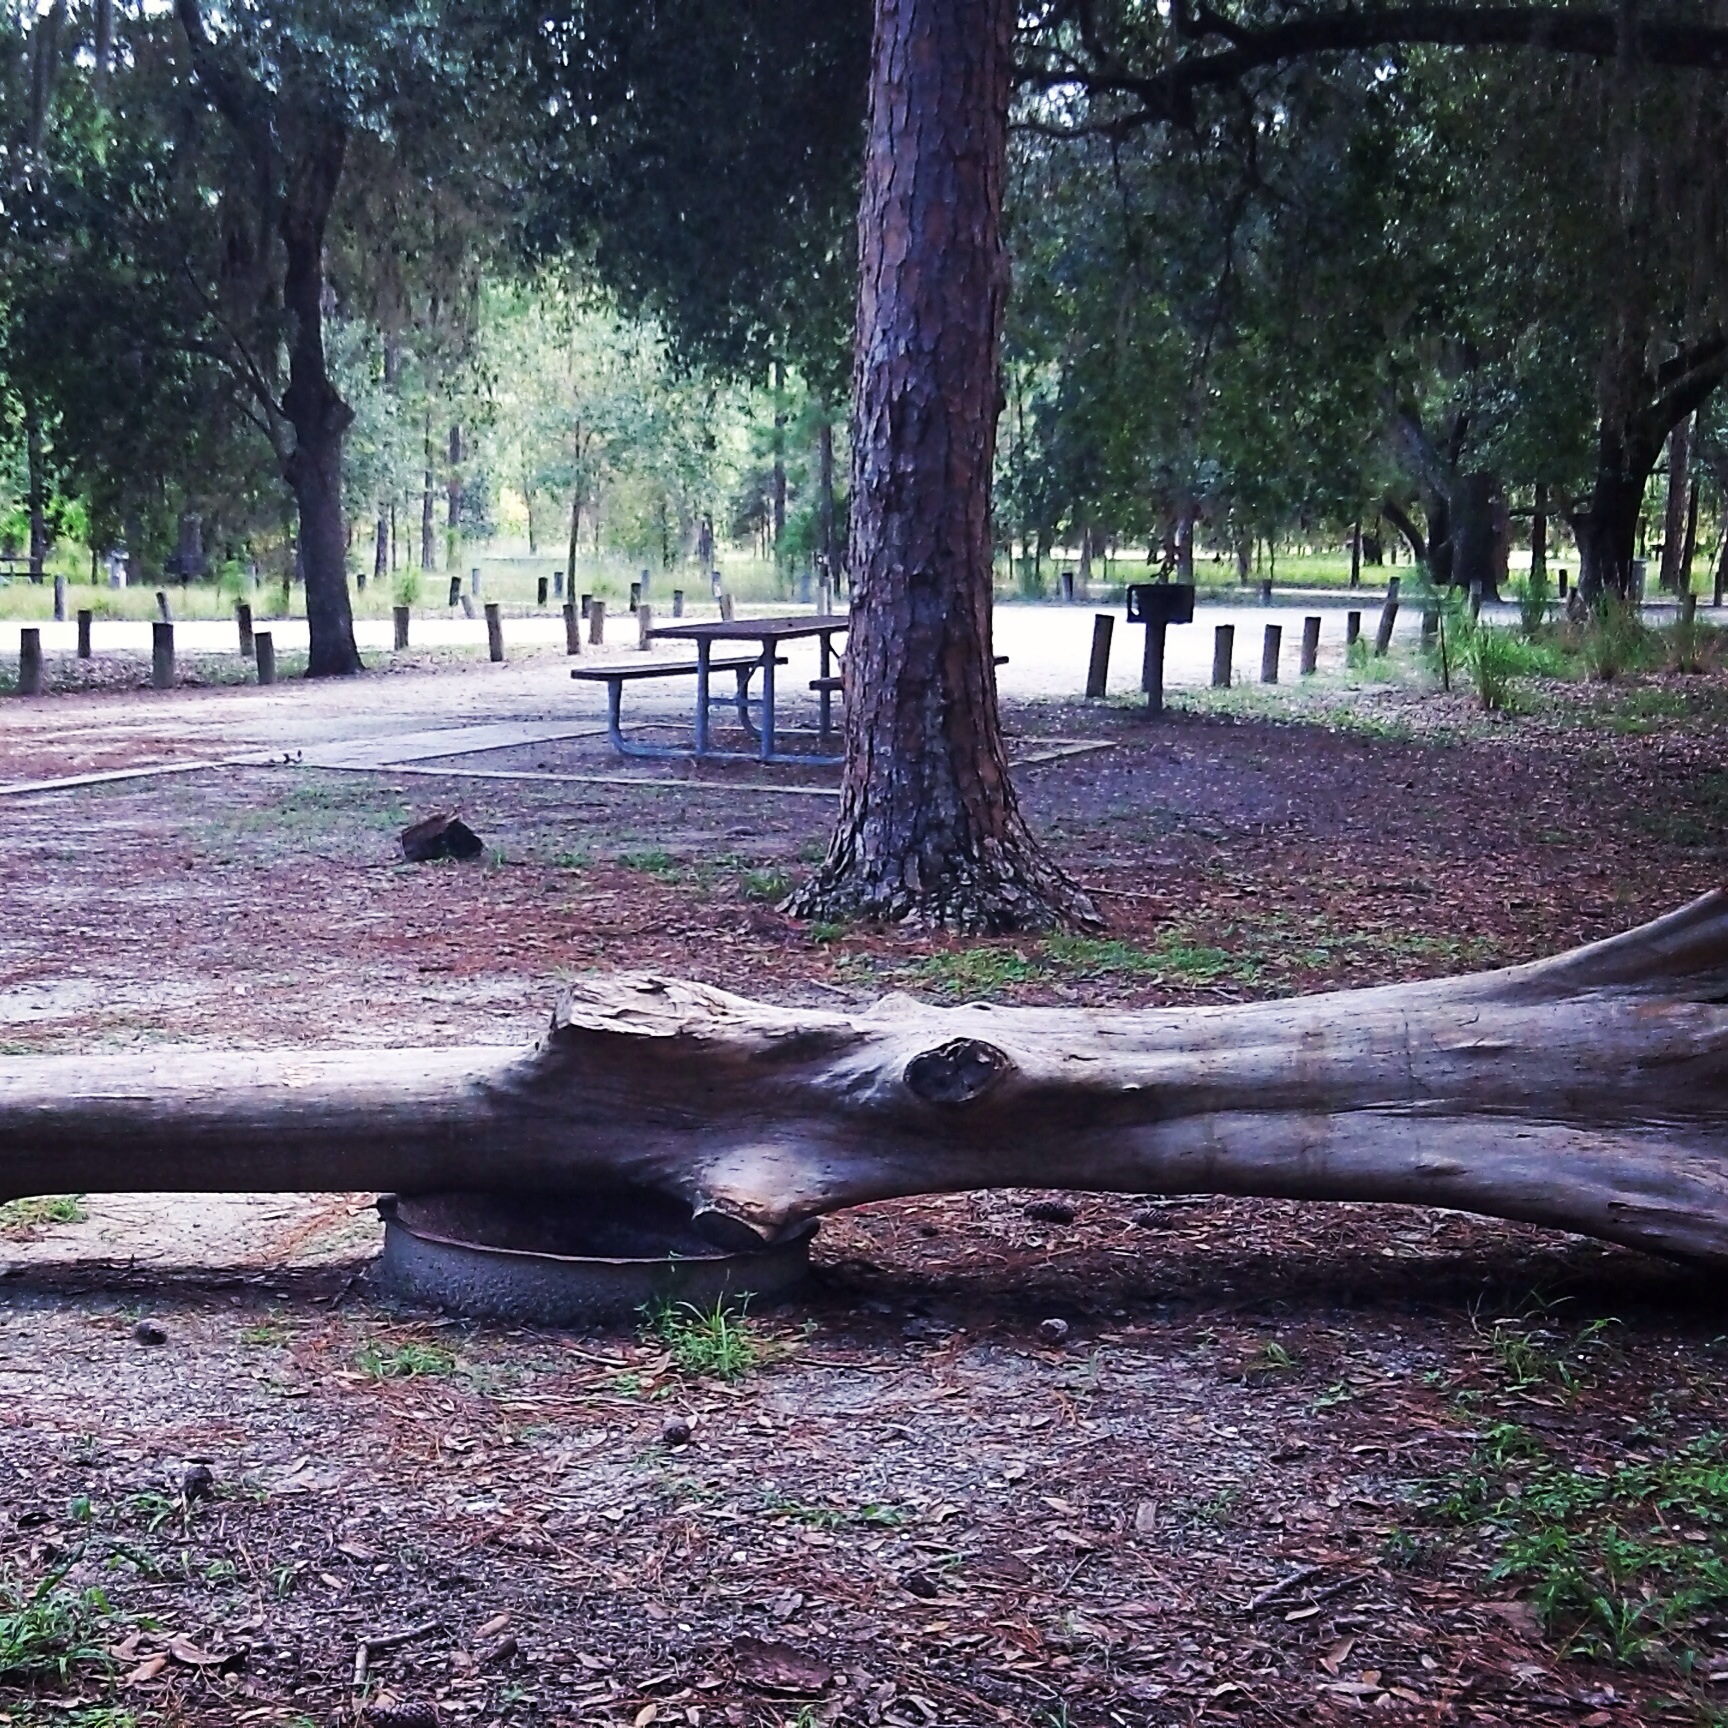
4. Terrain, when scouting a location take carful note of the terrain you will be shooting in and anything along the trail you will be traveling to get there. When planing a shoot the gear you bring will be drastically different if you need to hall it 18 miles up mountains and across rivers, And being prepared when you get there is a must. Tripods, filters, lens, cards, remote shutter, rain gear, water... This stuff gets heavy don't overload with stuff you will not use, plan the shoot and shoot the plan!
All of these factors will come in to play when out on the trail. I don't plan out every photo, sometimes they come by chance. But when you find a great location and really want to make that capture special. Take the time to plan and give you image the best chance of being the one you have in your mind.